- Google Analytics
Google Analytics 4 Implementation Guide: Simplified Steps for Success
14 Mar 2023
If you’re running a website or an app, it’s important to understand how visitors interact with your content. That’s where Google Analytics comes in.
1. Introduction
If you’re running a website or an app, it’s important to understand how visitors interact with your content. That’s where Google Analytics comes in.
As one of the leading digital analytics agency in Melbourne, Australia, we offer Google Analytics consulting services to help businesses like yours implement and optimise your analytics tracking. With the recent release of Google Analytics 4, we wanted to share our expertise on how to implement this new version of Google Analytics.
Firstly, know that Universal Analytics is will no longer process data from July 1, 2023. You’ll be able to see your Universal Analytics reports for a period of time after July 1, 2023. However, new data will only flow into Google Analytics 4 properties.
Overall, waiting for the auto-migration of GA4 to happen may not be the best approach, especially if you value data accuracy, insights, and competitive advantage. GA4 is a major update from UA offering improved tracking capabilities, machine learning insights, and cross-device tracking.
It’s recommended that you start planning and migrating to GA4 as soon as possible.
In this blog, we’ll go over the steps you need to take to implement GA4 on your website or app. By the end of this guide, you’ll have a better understanding of how to implement GA4 step by step, which will help you get started.

2. Create a Google Analytics 4 Property
The first step in implementing GA4 is to create a new property in your Google Analytics account. If you already have an existing Universal Analytics property, you can create a new GA4 property within the same account. Here’s how to create a new GA4 property:
- Sign in to your Google Analytics account.
- Click on the Admin tab.
- Under the Account column, click on the drop-down menu and select Create Account.
- Follow the on-screen instructions to set up your new account.
- Once your new account is created, click on the Create Property button.
- Select Web or App and follow the on-screen instructions to set up your new property.

Once your property is created, the next step is learning how to set up GA4 tracking. This is key to understanding user behaviour on your website or app.
4. Set Up the Tracking Code
To start tracking user behaviour on your website or app, you’ll need to set up the GA4 tracking code. Here’s how to do it:
- Go to your GA4 property settings and select “Data Streams”.
- Click on the Web or App data stream depending on what you want to track.
- Follow the instructions to set up the data stream.
- Copy the “Measurement ID” that’s generated.
- Add the “Measurement ID” to your website or app.

If you’re using Google Tag Manager, you can add the Measurement ID to a new GA4 tag. If you’re not using Google Tag Manager, you can add the Measurement ID to the header section of your website or app.
6. Set Up Event Tracking
One of the key features of GA4 is the ability to track events. Events are actions that users take on your website or app, such as clicking on a button, watching a video, or submitting a form. By tracking these events, you can gain insights into how users are interacting with your content and identify opportunities for improvement. Here’s how to set up event tracking in GA4:
- Identify the events you want to track.
- Create custom events in GA4 that correspond to those events.
- Add event tracking code to your website or app.
- Test the event tracking to make sure it’s working.

7. Set Up Enhanced Measurement
Enhanced Measurement is a feature in GA4 that allows you to track user interactions without the need for additional code. Enhanced Measurement can track things like scroll depth, outbound clicks, and form submissions. Here’s how to set up Enhanced Measurement:
- Go to your GA4 property settings and select “Data Streams”.
- Click on the Web or App data stream.
- Toggle the Enhanced Measurement switch to “ON”.
- Choose the events you want to track.
- Save your settings.
8. Set Up E-commerce Tracking
If you’re running an e-commerce website, it’s important to track your sales and revenue. GA4 makes it easy to do this with its e-commerce tracking:
- Go to your GA4 property settings and select “Data Streams”.
- Click on the Web or App data stream.
- Toggle the E-commerce switch to “ON”.
- Set up your product and transaction parameters.
- Save your settings.
9. Set Up Conversions
Conversions are the actions that you want users to take on your website or app, such as making a purchase or filling out a contact form. By tracking conversions, you can measure the effectiveness of your marketing efforts and identify opportunities for improvement. Here’s how to set up in GA4:
- Identify the conversions you want to track.
- Set up conversion goals in GA4 that correspond to those conversions.
- Add conversion tracking code to your website or app.
- Test the conversion tracking to make sure it’s working.

10. Use Data Analysis Tools
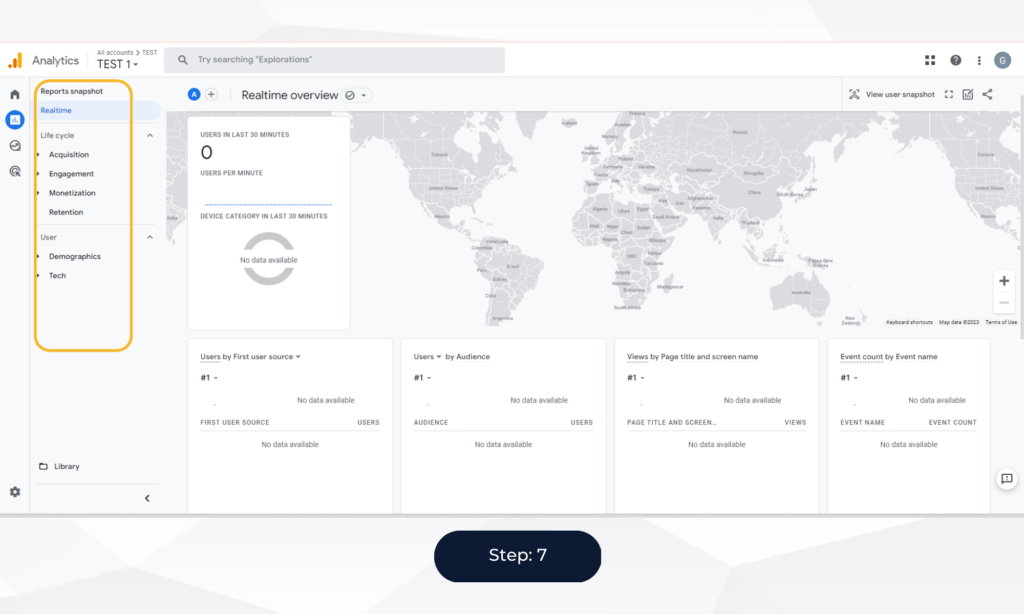
Once you’ve set up GA4 on your website or app, you can start using the data analysis tools to gain insights into user behaviour. Here are some of the key data analysis tools in GA4:
- Real-time reports: Real-time reporting allows you to see how users are interacting with your website or app in real-time.
- Audience reports: Audience reporting provides demographic and geographic information about your users, as well as information about their interests and behaviours.
- Acquisition reports: Acquisition reporting shows you how users are finding your website or app, such as through search engines or social media.
- Behaviour reports: Behavior reporting shows you how users are interacting with your website or app, such as which pages they are visiting and how long they are staying.
- Conversion reports: Conversion reporting shows you how many users are completing your desired actions, such as making a purchase or filling out a form.
11. Set Up Custom Reports and Dashboards
Custom reports and dashboards allow you to customise your GA4 data to suit your specific needs. Here’s how to set up custom reports and dashboards in GA4:
- Click on the Customisation tab.
- Click on Custom Reports or Dashboards.
- Click on the New Custom Report or New Dashboard button.
- Follow the on-screen instructions to set up your custom report or dashboard.

12. Continuously Monitor and Optimise
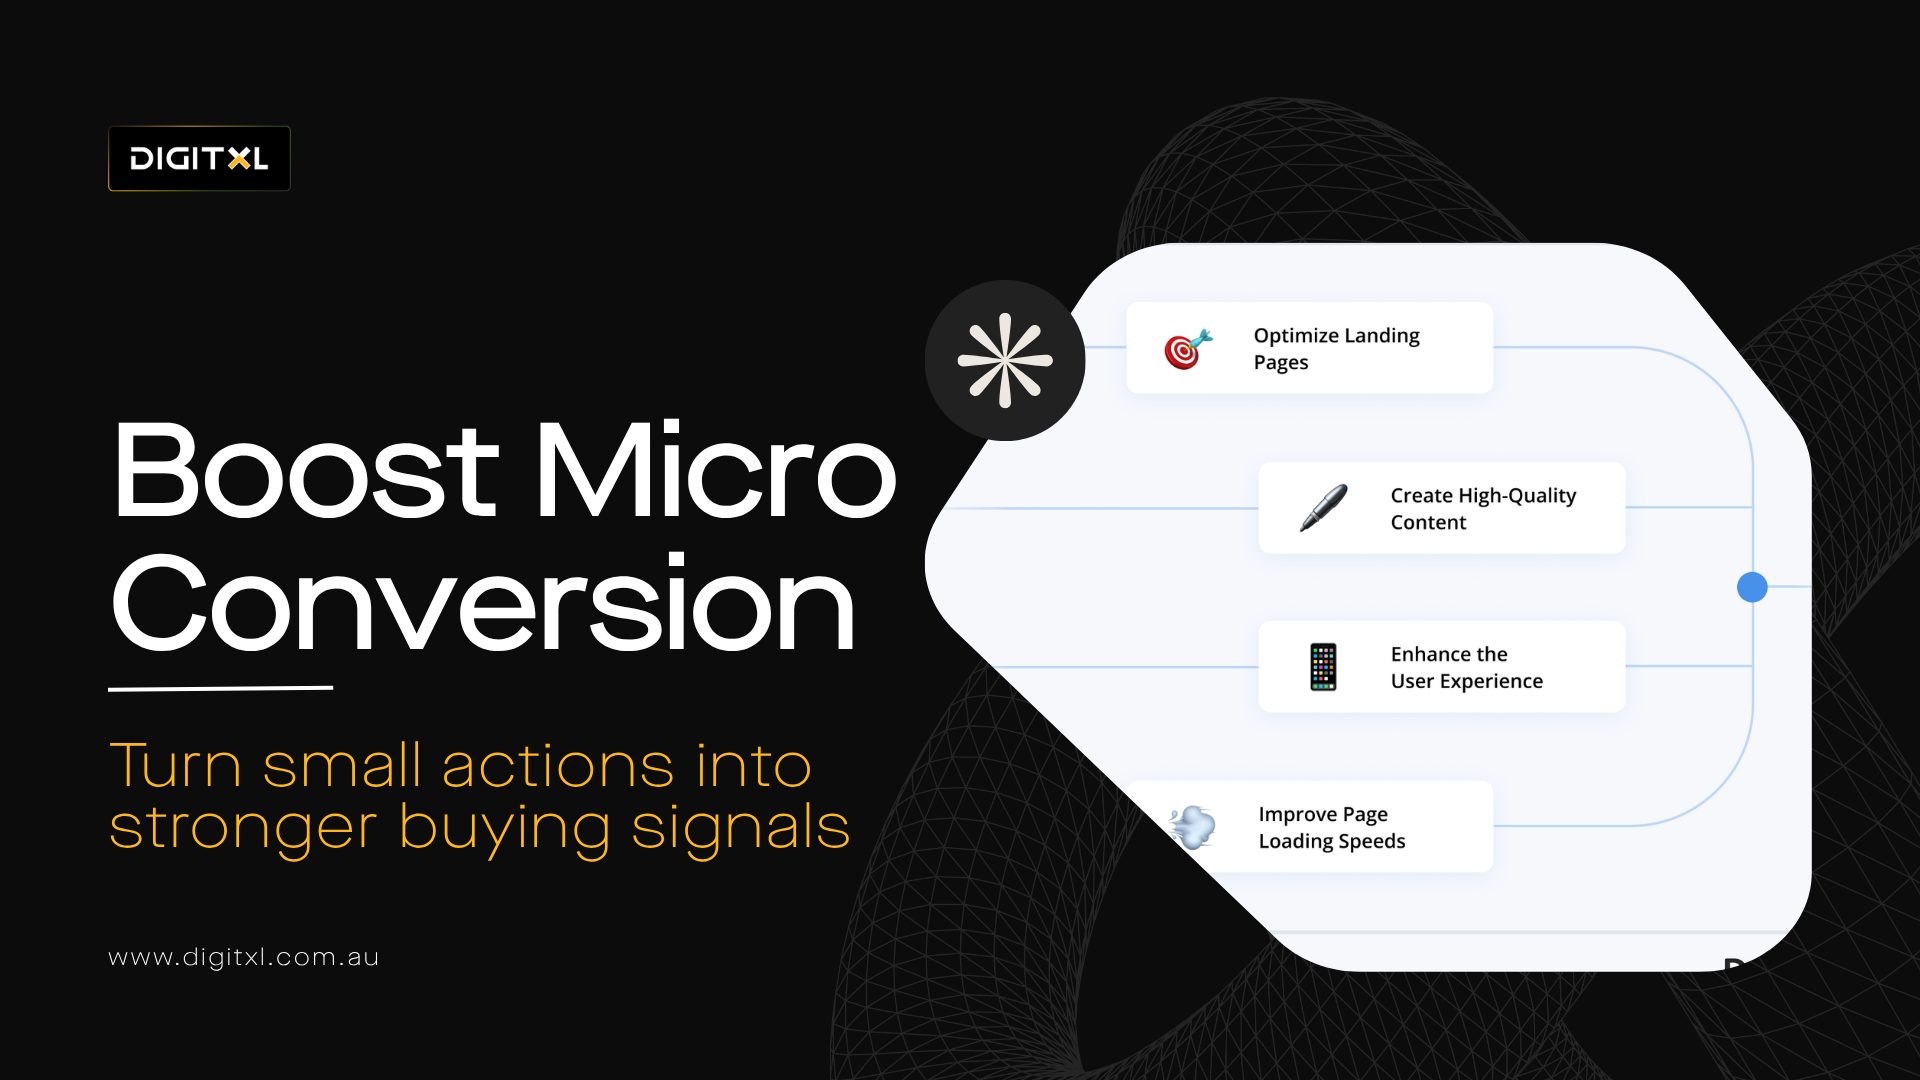
Once you’ve set up GA4 and started using the data analysis tools, it’s important to continuously monitor and optimise your website or app. Here are some tips for optimising your website or app based on GA4 data:
- Identify areas of your website or app where users are dropping off and make changes to improve the user experience.
- Identify the content and pages that are most popular with users and create more of that content.
- Use the insights from GA4 to improve your marketing efforts, such as targeting specific user groups or creating more effective ad campaigns.
As a certified Google Analytics agency, we can help you implement GA 4 for your website. Our experts can help you set up event tracking, user properties, and linking your Google Ads account.
In addition to the above steps, here are some best practices to keep in mind when implementing Google Analytics 4:
- Use a data layer: Using a data layer can make it easier to track events and user properties in Google Analytics 4.
- Set up goals: Setting up goals can help you measure the success of your website and marketing campaigns.
- Use custom dimensions: Using custom dimensions can help you create more targeted marketing campaigns.
We can also understand that for many businesses, analytics can be complex and daunting at times if you don’t have the right resources or if you yourself are not well versed. BUT WE LOVE DATA. We can be your certified analytics support who can elevate your business to new heights.
Schedule a FREE consultation with us today and let us help you unlock the full potential of your business using Data and Analytics. Contact us now to schedule a meeting.
13. FAQ
Q. Why do I need to switch to Google Analytics 4 from Universal Analytics?
A. Universal Analytics stopped processing new data from July 1, 2023. GA4 is the new standard, offering cross-device tracking, machine learning insights, and more advanced event-based measurement. Migrating ensures your business continues to collect accurate and actionable data.
Q. How do I start implementing GA4?
A. The first step is to create a GA4 property in your Google Analytics account. From there, set up your tracking code (via Measurement ID or Google Tag Manager) and configure data streams for web or app tracking.
Q. What types of events should I track in GA
A. Events represent user interactions like button clicks, form submissions, video views, or purchases. You can use GA4’s Enhanced Measurement to auto-track common events or create custom events aligned with your business goals.
Q. How can GA4 help eCommerce websites?
A. GA4’s e-commerce tracking provides detailed insights into product performance, sales, and revenue. By enabling e-commerce settings and defining transaction parameters, businesses can monitor shopping behaviour, measure conversion rates, and optimise marketing efforts.
Q. Do I need expert help to implement GA4 correctly?
A. While GA4 can be set up independently, its customisation (event tracking, conversions, user properties, linking with Google Ads) can be complex. Partnering with a certified analytics agency like DigitXL ensures accurate implementation, ongoing monitoring, and optimisation tailored to your business needs.

Recent Posts


Case Studies
Business News Australia
On Track Meals
Suncorp

